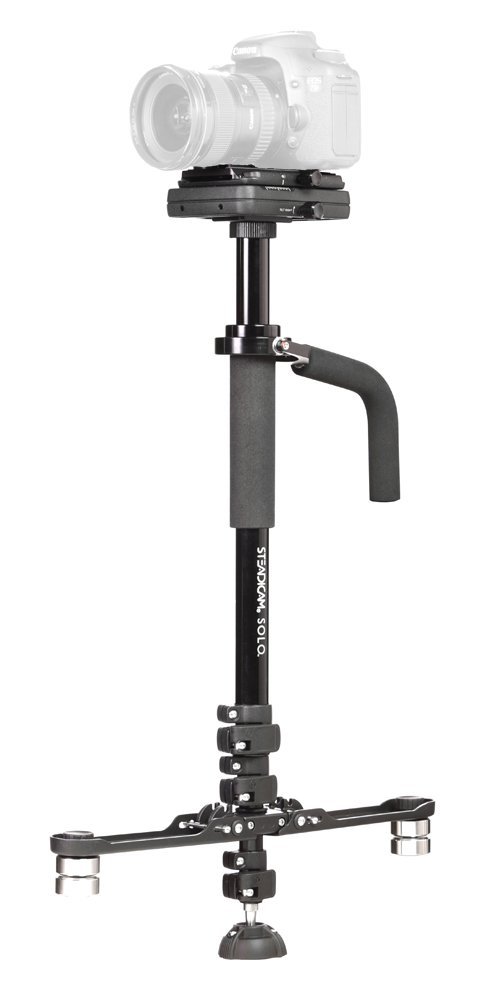
 The Steadicam Solo is a hand-held stabilization system. Hand-held stabilization systems are designed to support a DSLR camera while you use it to make videos. This Steadicam Solo review takes a closer look at its best and worst features.
The traditional way to make videos is to hand-hold a camera. This is inherently a jerky and less desirable way to make videos.
The movement of your arms, your breathing and your general body movement contributes to the camera shake. To counter this tripod and monopods were devised. But these systems are not mobile. Meaning, when you need to be on the move while recording videos, tripods and other traditional support systems are useless. Gimbal based systems like the Steadicam Solo are what people look for.
Let’s take a closer look at the system and find out if it suits our needs.
Pros
- 10 lb. weight carrying capacity
- 3-axis gimbal
- Easy conversion between a Steadicam and a monopod with few adjustments
- Four section telescopic extension
- Comes with a Quick release plate and counterweights
- Folds to a portable 24″ height, ready to be packed inside a camera bag or suitcase
- Compatible with an optical arm and vest
Cons
- You cannot use larger full-frame DSLRs with hefty wide angle lenses.
- The weight is at the bottom with the grip extended out
Contents
Detailed review of the Major features of the Steadicam Solo
Steadicam to Monopod and back
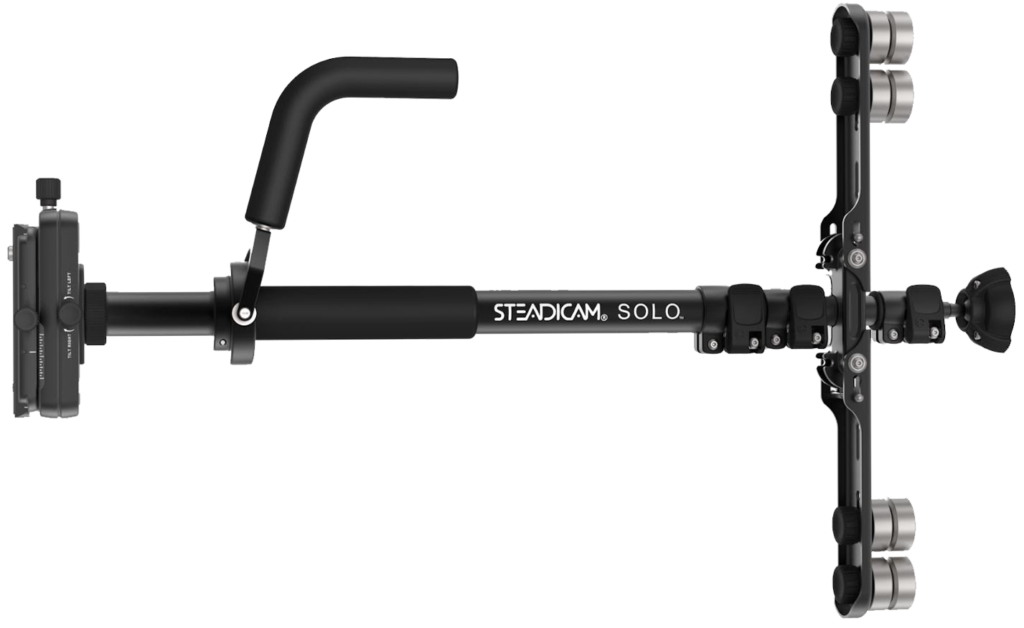
The major advantage of the Steadicam Solo stabilization system is that it can be very quickly converted into a monopod and then back into a Steadicam DSLR stabilization system with a few quick adjustments. It basically gives you a reliable handheld stabilization system and a monopod in one single package. It comes in handy when you are traveling, especially when you are planning to travel light.
These days with airlines limiting the check in baggage weight, it becomes important that you stay within your limits and not pay extra baggage. For a photographer who often travels with a lot of gear this becomes a headache. The Steadicam Solo is a good option. Especially when you want a professional result for your DSLR videos but also have to stay within the airline baggage limits. The Steadicam Solo fits that bill with its light weight.
A monopod makes sense in a wide variety of situations. It works even when shooting videos. The reason is with a monopod you need a lot less amount of space to work with. In many situations, you don’t actually need a tripod. All you need is something that can keep the camera on a level plane while you use techniques like panning or shoot a quick video clip. Instead of shooting handheld and therefore induce a lot of shake, a monopod makes perfect sense.
When folded the Steadicam Solo is just 24″. That’s a pretty small size for a hand-held stabilization system, especially for something that can support a reasonably heavy system.
Quick release Plate
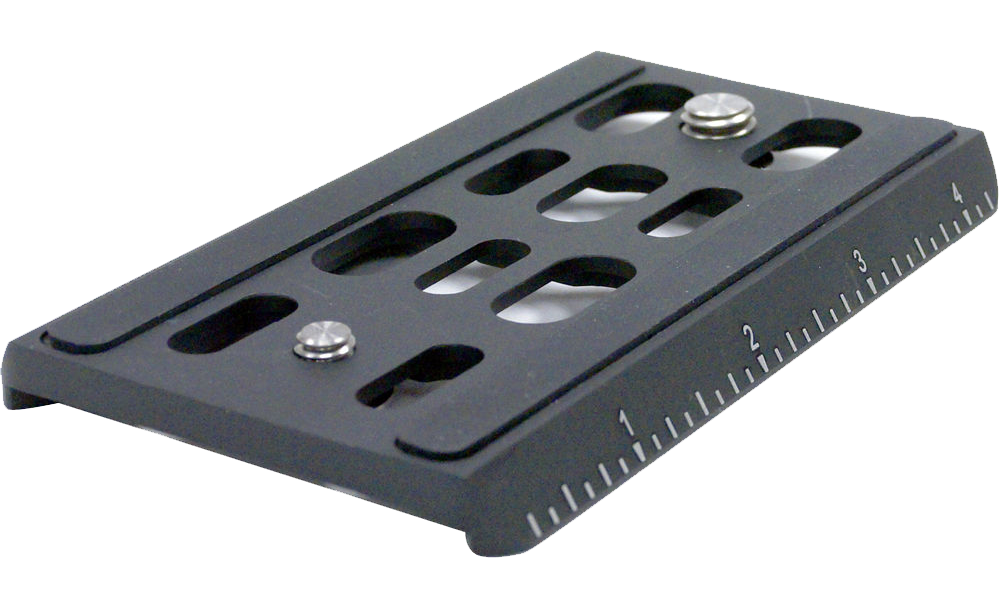 A Quick Release Plate (also known as QR plate) is essential for photographers who shoot stills and videos intermittently. Let’s say that you are shooting a video clip of your kids playing at the beach. Suddenly you notice a great portrait moment. Does that mean you lose the moment? The cumbersome release mechanism on some stabilizers can be quite difficult to operate. No. All you have to do is to press the release knob on the QR plate and the DSLR will come off.
This is the same mechanism that is used in traditional tripod systems. The QR plate mechanism allows fast interchangeability from video to still and vice versa. To lock the QR plate back in position all you have to do is press the push button to lock.
The QR plate comes with standard ¼” – 20 and 3/8″ – 16 camera mounting options which ensure that a wide variety of camera systems can be mounted using the plate.
Counterweights
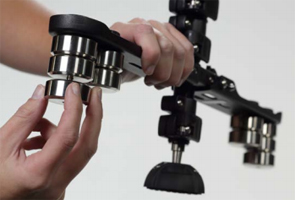 The Steadicam Solo comes with a bunch of counterweights. Unlike some of the other smaller (and cheaper) hand-held DSLR camera stabilization systems that we have reviewed, this one comes with the option to mount the counterweights on two different sides of the bottom plate for more accurate balancing. Please note that the bottom plate is where the counterweights are to be placed to balance it and the weight of the DSLR system that you intend to use.
About the Gimbal
The gimbal on the Steadicam Solo is a 3-axis wonder. A 3-axis gimbal can steady a camera stabilization in all three axis giving a much smoother and steadier video shooting experience compared to just a 2-axis counterbalancing mechanism.
Construction Quality
This Steadicam Solo review would be incomplete without a word about its construction quality. This all metal design is capable of taking in quite a bit of abuse. The gimbal has an ergonomic foam handle as well as additional post grips that allow you to get a firm and comfortable grip. Telescopic central column extends in four sections reaching out to a maximum shoulder height allowing you a good reach in monopod mode.
Optional accessory mount
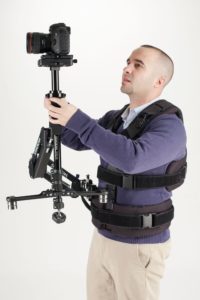
There are two optional mounts that allow you to attach additional accessories to the Steadicam Solo. These are the vest and the arm-support. Let’s elaborate this in further detail.
We are aware that the entire weight of the Steadicam Solo (and for that matter most hand-held DSLR stabilization system) is supported by the wrist and the forearm of the videographer. This means on a long term basis this can become a health concern. The arm-support is an accessory that can take away the stress that is associated with hand-holding the Steadicam Solo for an extended period of time.
If there is one accessory that is better than the arm-support, then it has to be the vest. The vest, as the name suggests, is worm around the torso of the videographer. The arm-support is connected with the vest and the entire weight of the Steadicam Solo plus the camera and the lens is distributed around the torso of the videographer. This is a great way to ensure the minimum amount of discomfort when using the stabilization system.
The greatest benefit of these two accessories is when you are shooting an event. Let’s say that you have been assigned to shoot stills and videos at a wedding. While you are shooting the stills, the video work is reassigned to a colleague of yours. Now, for shooting wedding, both you and your videographer have to be on your toes at all times. Things move way too quickly to get a breather in between. And that can mean only one thing – arm fatigue and even injury. To prevent this an arm-support and a vest becomes extremely important accessories to have.
Detailed review of the Major disadvantages of the Steadicam Solo
 While we love the monopod to Steadicam design and found it useful in some situations, the transition isn’t always as smooth as we thought it would be. E.g., when the Steadicam Solo is set up as a monopod, and you need to pick it up and move to a different location for a shoot, you have to first collapse the four sections. The Steadicam Solo isn’t the best design to work in a situation where you need to shoot, then move immediately and then shoot again. Especially if you don’t have a lot of space and the terrain isn’t exactly studio like. Plus, at shoulder height when fully extended, the Steadicam Solo isn’t built for such maneuvers.
The Steadicam Solo supports a total with of 4.5 kilos or 10 lb. That should be enough for all mirrorless systems as well as DSLR systems specially the crop sensor systems with smaller light weight sensors. As long as you stay within the recommended weight you should be fine. The problem is when you use heavier cameras. The system will require additional weights and that means it no longer remains easy to use.
Another major factor that you should consider is that the grip extends out. Why does that matter? Well with smaller Steadicams the counterweights are located at the bottom of the camera QR plate. That means your hand is in close proximity to the weights and it is a lot better way to hold the system. With the weight now moved towards the bottom of the system and extending away, the entire pressure is going to be on the wrists. You will need additional support systems such as a wrist-support or even a vest in order to use this.
MOST POPULAR STEADICAM TIPS
 Best Stabilizer for GoPro- 7 Best GoPro Gimbals in 2017 Reviews
 Canon vs Nikon for Beginner: Which DSLR Brand is for You?
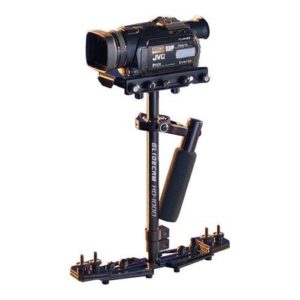 Glidecam HD 1000 Review: This Stabilizer Set Your YouTube Videos on Fire!
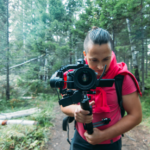 What is a 3-Axis Gimbal and How Does it Work?
 Top 5 Best Cheap Steadicams, Gimbals & Stabilizers
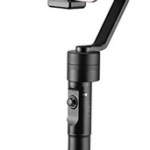 Zhiyun Z1 Smooth C Review- Your Iphone Videos Need This Gimbal