You’ve probably heard about drone cameras with stabilizers, but what is a 3-axis gimbal? This article will give you insight into how a 3-axis gimbal works to stabilize each shot or footage you capture with your camera (or phone).
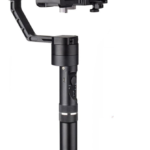
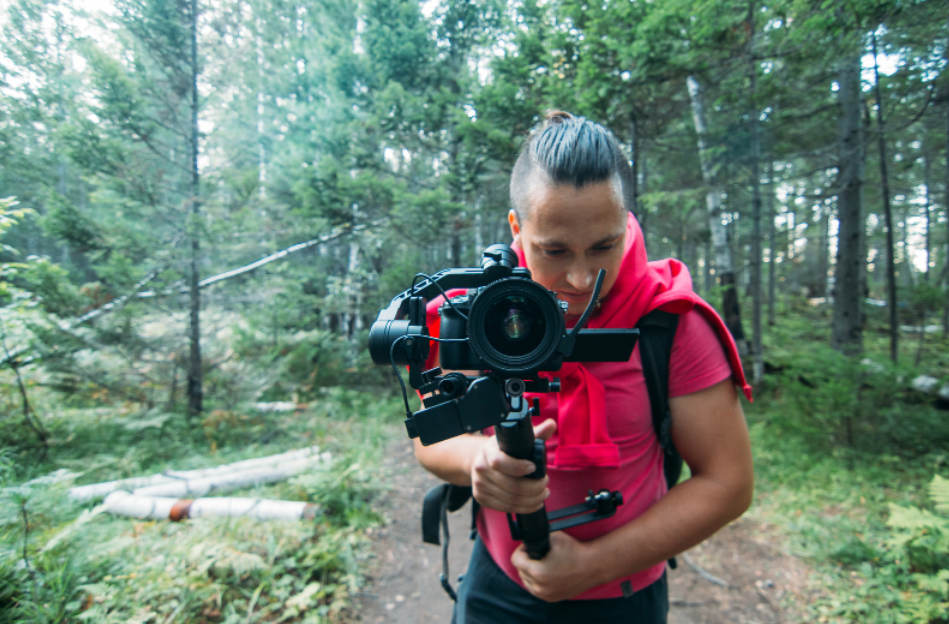
Whether you are taking a picture or recording a video, gimbals are supporting tools that help make each shot or footage more stable by lessening its movements. A gimbal can either be 2-axis or 3-axis (some are even 4-axis) but the most common type is the 3-axis gimbal.
The way a gimbal works is to make sure that the camera will not get a blurry photo or video due to excessive movement or shaky hands. This is important not just for those who are new to photography but also for moments when the weather is windy.
So, how does a gimbal stabilize your photo or video? It uses pan (yaw), tilt (pitch), and roll – typically found in a 3-axis gimbal. Panning is how your camera moves from left to right, tilt is when it looks up or down, and roll is when it turns horizontally or vertically like how you flip your mobile phone.
What is the difference between a 2-axis gimbal and a 3 axis gimbal?
The number of axes makes the difference between these two types of gimbals. While a common 3-axis gimbal has pant, tilt, and roll, a 2-axis gimbal only has tilt and roll, lacking the panning stabilization. Typically, a 3-axis gimbal is slightly heavier due to the addition of another gear in the setup.
Furthermore, a 3-axis gimbal also uses more battery than a 2-axis type. However, if you want more stabilization for your video or photo, we advise you to get a 3-axis gimbal instead – especially if you will shoot under unfavorable conditions, such as windy weather or while up in the sky.
With that said, a 2-axis gimbal is a good beginner’s choice since it’s not too complicated to learn how to use, it’s budget-friendly, it’s lighter in weight, and it does a decent job in stabilizing your shots or videos. However, for a more professional approach, a 3-axis gimbal offers more stability – especially for drones.

Contents
How do you use a 3 axis gimbal stabilizer?
Before you use your gimbal, make sure to read the payload or weight rating. Don’t go over the suggested weight to avoid ruining your gimbal, camera, and warranty card. If you use heavier cameras or those with special lenses, you will need a stronger gimbal for that.
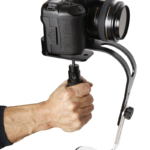
When it comes to using a 3-axis gimbal, it usually depends on the instructions of the manufacturer as not all of them have the same method of attaching the camera or phone. However, the general idea is that you attach the camera to the gimbal as securely as you can.
After that, you can tweak the settings using the controls. Usually, a gimbal also has a screen where you can access the camera settings for convenient photography or videography. With that said, a handheld gimbal requires some arm strength so it takes practice.
If you have a drone gimbal, however, it will also have some learning curve when it comes to flying it. Even if a drone camera has a 3-axis gimbal, flying it can still be a challenge – especially in windy conditions or dim light.
Most gimbals also have app integration so you can control them using your smartphone. Read the instructions carefully and test only in an open area first if you’re trying out the gimbal (especially a drone gimbal) for the first time. It’s also good to have a companion when testing out your gear.
When the battery of the 3-axis gimbal is low, you’ll need to charge it – different gimbals have varying charge and running times. For a drone gimbal, you can use its RTH or return-to-home function so that it will fly back and land to its original launch area.
Having an RTH function will prevent your gimbal from crashing badly to the ground due to a drained battery. When getting a drone gimbal, make sure that this function is present and that you can see the battery level on the controls or your phone (in the drone gimbal app).
What is a 4 axis gimbal?
Vertical jitter stabilization is the target of a 4-axis gimbal. Although this technology is new in the market due to the prevalence of mostly 3-axis or 2-axis gimbals, a 4-axis type is good for professionals who simply don’t like excessive vertical instability.
A 4-axis gimbal and camera setup best works when you shoot in an upright position. If you are an experienced videographer or part of a film crew and there’s a need to stabilize the vertical jitter, you will benefit from a 4-axis gimbal.
Is a gimbal necessary?
Yes, gimbals are a necessity when it comes to taking shots in not-so-good outdoor locations, such as up in the sky – when you’re using a drone camera. So, what is a drone gimbal? It’s a combination of a camera, a drone, and a gimbal that stabilizes the shot or footage.
A gimbal for a drone is very necessary since it flies up in the air. Drones can get knocked away by the wind and it will make the footage very jittery – which is why you will need a 3-axis gimbal for it. Most drone cameras have a 3-axis gimbal, anyway.
Gimbals work not only for aerial and action photography but also for taking other shots, such as when you’re vlogging and most especially if you want to create a documentary or short film. The footage needs to be as steady as possible to avoid blurry videos that may cause motion sickness.
Conclusion
To wrap it up, a 3-axis gimbal is helpful for photography and shooting videos to keep the footage as steady as possible. If you’re planning to get serious on your shots, a 3-axis gimbal is a good investment and a helpful tool to ensure that your output won’t be an eyesore due to excessive jittering.