To take the perfect shot, you’ll need to know about the different types of camera stabilizers. After all, not all of them are the same – they have their specs, mechanisms, and payload (of your camera or DSLR). Most of them are meant for DSLRs but some can be used for mirrorless cameras.
Even with the most stable hands, we need a camera stabilizer during times when the shooting conditions are not so ideal and when we already feel too fatigued to take a good shot. After all, most of us use manual settings on our DSLRs so there’s a need to have stabilization to avoid blurry shots.
If you work in the film industry, a camera stabilizer is no stranger to you – they are used by most cameramen. For those who are starting on videography and filmmaking, you’ll need a good camera stabilizer to help get clear, crisp, and smooth footage of your subject – especially if it is moving.
What is a handheld camera stabilizer?
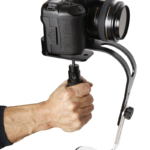
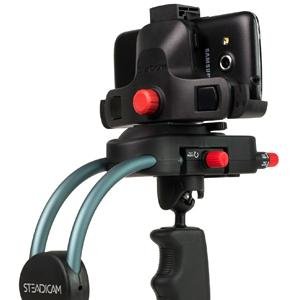
A handheld camera stabilizer ensures that each shot of photo or video footage will end up not having blurry pictures or imagery. This will not only make them easier to see but will also help in clearing out details about the photo or the video.
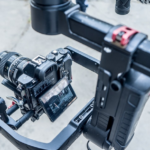
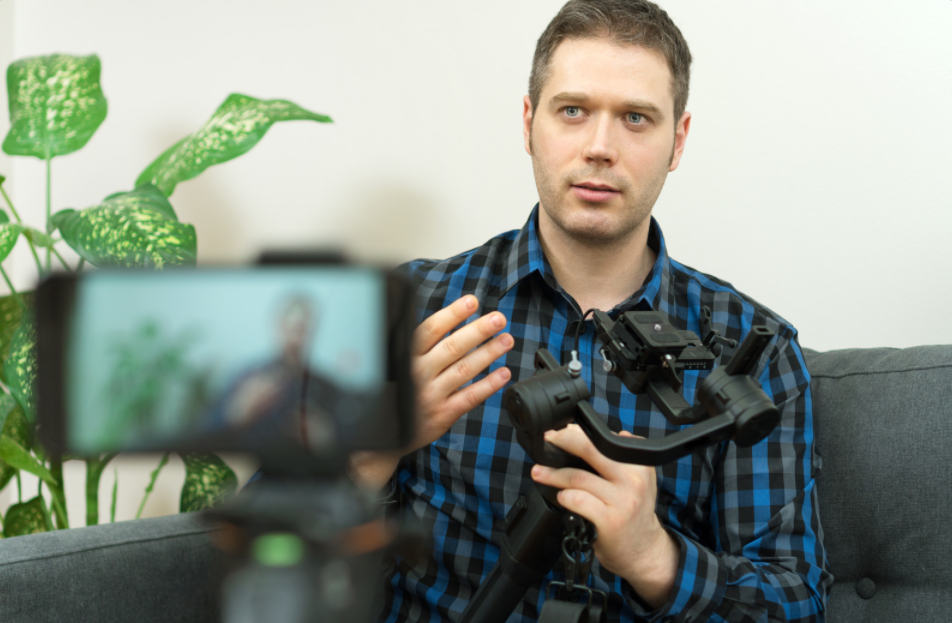
An example of a handheld camera stabilizer that you can use for your DSLR photography sessions is the DJI Ronin-SC Camera Stabilizer. Made by the same company that has launched quality photography drones, this stabilizer has a payload of up to 4.4 pounds and comes with automated features.
With its 3-axis gimbal, it will be compatible with both DSLRs and mirrorless cameras of major brands (e.g. Canon, Nikon, Lumix, Sony, and the like). We like the DJI Ronin-SC when it comes to handling since it is slip-resistant plus the placement of the buttons makes it convenient to control.
You’ll only need to sync it with the Ronin App to choose settings and it also lets you see the hardware specs for maintenance purposes. The unique design of the axis arm of the handheld stabilizer gives the camera an unobstructed view of the world.
We also like the Zhiyun Weebill S Compact Gimbal Stabilizer, which is a suitable camera stabilizer if you’re more of a lens user. This setup involves a design that stabilizes not just the camera body but also the extended lenses you have, so it works on a variety of cameras.
With a 14-hour battery, this stabilizer also has a special 8th Instune algorithm for an easy fix of blurry shots, which can also be tweaked using a handle dial. Like our previous suggestion, it also has app integration for easy controls plus a 3-axis lock for convenient storage and handling.
If you have heavier DSLRs, we’d suggest the DJI RS 2 – 3-Axis Gimbal Stabilizer, which can take up to 10 pounds for its payload. Since it is made with carbon fiber construction, it’s very lightweight yet durable – great for handling bulkier photography gear.
Compatible with most major camera brands, this stabilizer also has SuperSmooth technology that will handle even the smallest lens sizes, such as the 100mm zoom lens. If you’re looking for a DSLR stabilizer for making films and documentaries, this is a great choice for you.
For those who want uninterrupted work and long battery life, the Zhiyun Crane 2 Handheld Gimbal Stabilizer has up to an 18-hour runtime on a single charge. We like its Real-Time Follow Focus wheel for added precision when your subject is moving.
Working on different DSLRs and mirrorless cameras, this stabilizer has a quick-release plate for convenient docking and undocking (when switching cameras) plus an OLED display to easily glance through the camera settings.
Contents
When should you use a camera stabilizer?
Camera stabilizers are used for taking crisp-clear shots without any hint of blurring. They are typically used if your subject is moving, such as for sports, adventures, traveling, and even taking pictures of pets and children.
Aside from that, if you’re under unfavorable weather conditions, a camera stabilizer will help you get the perfect shot even if you’re already feeling fatigued or if you can’t get a good shot due to the circumstances.
Filmmakers and professional photographers use a stabilizer to help keep their video footage as clear as possible despite the external factors. After all, no one wants to watch a movie with blurry shots, right? That’s also, especially a problem for people with motion sickness, so the film shots need to be as clear and as steady as possible.
How do you use a camera stabilizer?
Camera stabilizers are used by mounting the camera onto the mechanism first. Follow the instructions on mounting the camera although most setups require you to remove the camera plate and screw in the camera in question.
Keep in mind to always watch for the screw in case it gets loose. Make sure to tighten it as much as possible to avoid issues with movement. For cameras with added lenses, you’ll need to move the mounting plate forward.
You can also check the balance of the camera’s horizontal and vertical trim by loosening and tightening some of the screws. It takes some trial and error to get the right balance for your camera.
How do DSLR stabilizers work?
The stabilizer eliminates the shakiness of the camera by using its 3-axis gimbal. The three axes refer to the roll, pan, and tilt so that with every direction you go, the stabilizer keeps the camera shot steady and smooth as much as possible.
What a 3-axis gimbal does is neutralize the movement and minimize the blurring. It uses a combination of sensors and motors to maintain balance when using the camera. Even if you have shaky hands, the sensors will more or less help you get the perfect shot.
Conclusion
To wrap it up, the different types of camera stabilizers will help you do the job whether you’re still a hobbyist or a professional photographer or videographer. Not only will it help save time in repeated shots and footage but also give you a smoother time in taking precise shots of moving subjects.


